Features
- Suitable for both onshore and offshore applications
- May be installed while the line is working at operating parameters
Specifications
- Manufactured with beveled ends, facilitating a seal weld if required
- Designed to meet subsea applications
Applications
- Oil pipeline
- Gas pipeline
- Water pipeline
Restoring Pipeline Integrity through Wellube’s Pipeline Repair Clamps
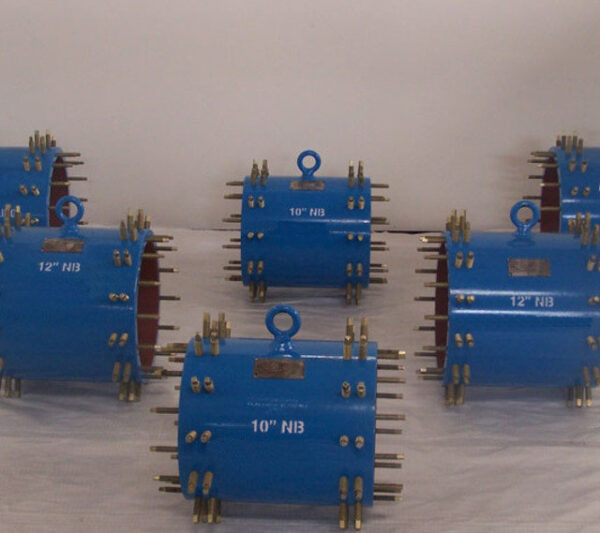
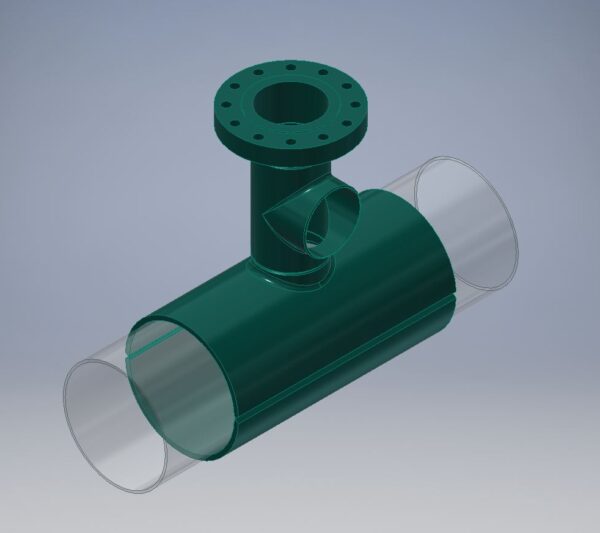
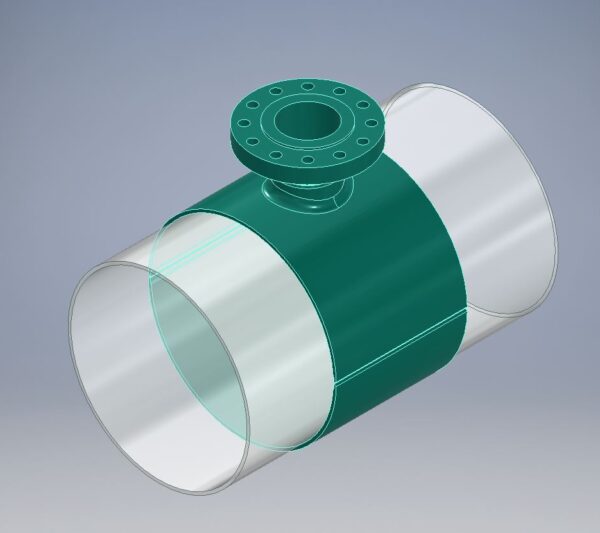
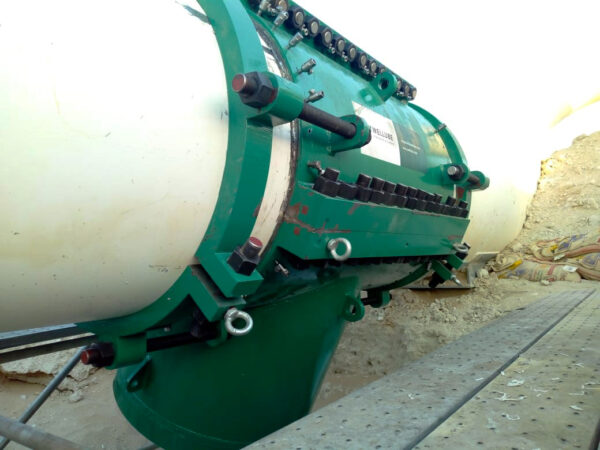
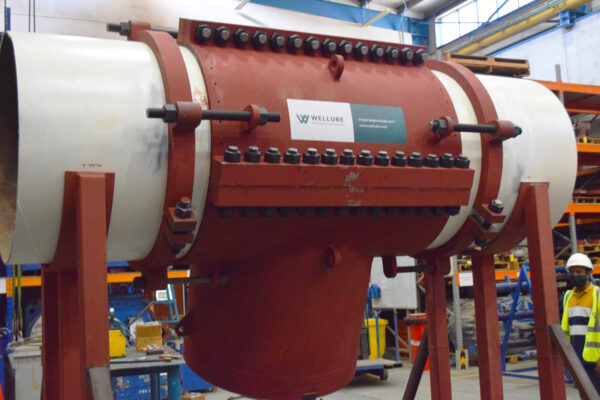
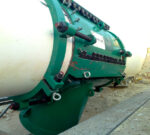
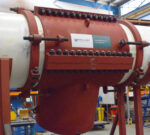
Repair clamps for pipelines and processes are designed to trap defects within their body and restore pressure integrity by engaging mechanical seals and locks on the good parent pipe.
Developing a pipe repair clamp has simplified process piping maintenance on oil and gas pipelines and process facilities.
Pipeline Repair Clamps are used when pipes in the system begin to leak due to severe loads, accidents, or wear. These clamps serve as a mechanical sealant and lock onto the pipe, preventing leakage. Each component is intended to serve a specific purpose in various applications.
How does the pipe repair clamp work?
One of the essential elements of a damaged/deteriorated pipe that defines the repair component that should be employed with a pipe repair clamp is the outside pipe surface condition.
If an elastomeric seal cannot provide appropriate sealing forces in areas close to the damage or in relatively unaffected regions close to the major damage, the outside pipe surface may need to be restored using a suitable filler material. Consider the several types of pipe repair clamps available:
- Patch Clamp: To repair a modest pin-hole leak on a section of pipe, use a simple patch clamp or a customised pin-hole leak repair clamp.
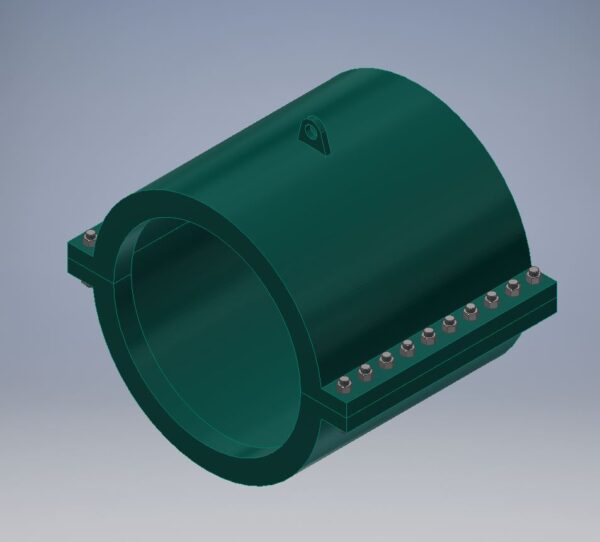
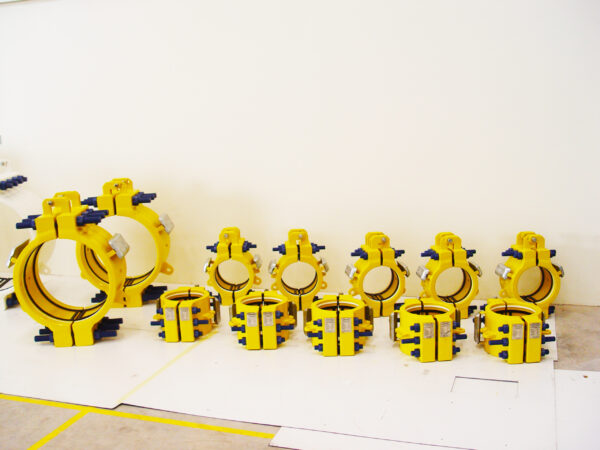
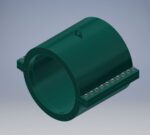
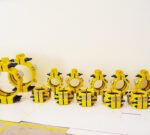
- Stand-off Clamp: One of the most prevalent kinds of pipe repair clamps. They are typically cylindrical and composed of two half-shells. On the other hand, some stand-off clamps designed for low-pressure applications can be flexible one-piece assemblies ready to be fitted over the damaged pipe.
- Pin-hole leak repair Clamp: A pin-hole repair clamp is another type of clamp that is useful for tiny leaks, particularly in domestic applications. A locator pin is used to guide the pointed cone seal directly into the leak using this type of pipe leak repair clamp.
Pipeline repair clamp process
The method for employing pipeline repair clamps varies based on the clamp type and the severity of the pipeline damage. However, below is a general summary of the pipeline repair clamping process:
1. Assessment & Preparation
- Perform a comprehensive inspection of the pipeline to determine the location and degree of the damage.
- Remove any debris, corrosion, or impurities that may interfere with the repair procedure, and clean and prepare the injured area.
- To guarantee that the suitable size of the repair clamp is chosen, measure the pipeline’s diameter.
2. Clamp Selection
- Select the right type and size of pipeline repair clamp based on the pipe diameter, operating pressure, and nature of the damage (such as a crack, leak, or puncture).
3. Installation
- Place the repair clamp over the broken pipeline piece, ensuring it is properly aligned and fits.
- Tighten the clamp using the included bolts or other fasteners. To obtain the appropriate compression and sealing, follow the manufacturer’s torque guidelines.
4. Testing & Monitoring
- Perform pressure or leak tests to ensure the repair clamp has effectively sealed the damaged region and restored the pipeline’s integrity.
- Keep an eye out for any symptoms of leaking or further damage in the repaired section, especially during the first operation and subsequent inspections.
5. Documentation & Reporting
- Keep track of the repair process, including the type of repair clamp used, installation information, test results, and any other observations or recommendations.
It’s crucial to note that the preceding phases provide a high-level overview of the method; specifics will vary depending on the type of pipeline, the extent of the damage, and the manufacturer’s instructions for the specific repair clamp being used. For proper instruction and conformity to industry requirements, consult with specialists or professionals knowledgeable in pipeline repair and the specific type of repair clamp.
Wellube’s pipeline repair clamp services
Look into Wellubes pipeline repair clamps for a rapid and cost-effective solution. This add-on solution is suitable for both temporary and permanent repairs to damaged or leaking pipelines.
Our ASME VIII-compliant fittings can be utilised on both low and high-pressure applications, as well as a wide range of pipeline materials.
Call or email us for any questions or enquiry for your pipeline repair work. Our engineers and specialists are ready to serve you.




 Availability :
